We’re loving vellum wedding invitations this year – they’re different, fun, and super easy to DIY! I’m going to walk you step-by-step through choosing a design and how to print invitations at home. Gorgeous, budget friend wedding invitations coming right up!

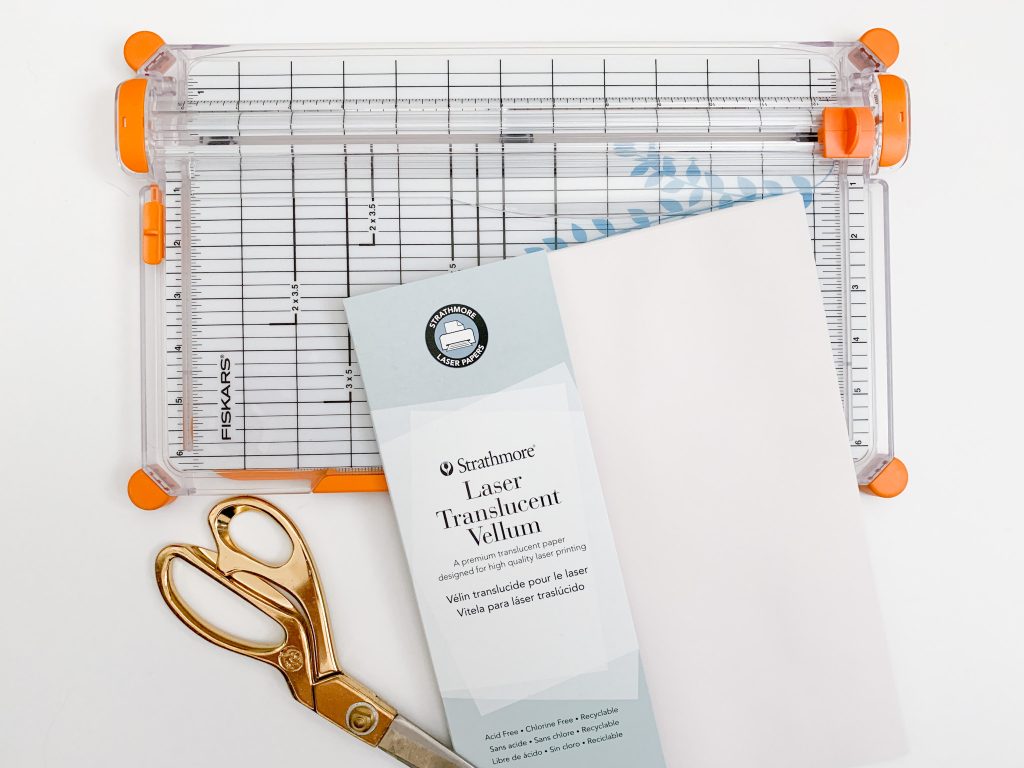
What you’ll need*:
- A Vellum-Friendly Design (we offer several in our template shop!)
- An Inkjet Printer – this is the one we use! (A printer that drops the paper in versus pulls it up, from a tray will work best as to not damage the paper)
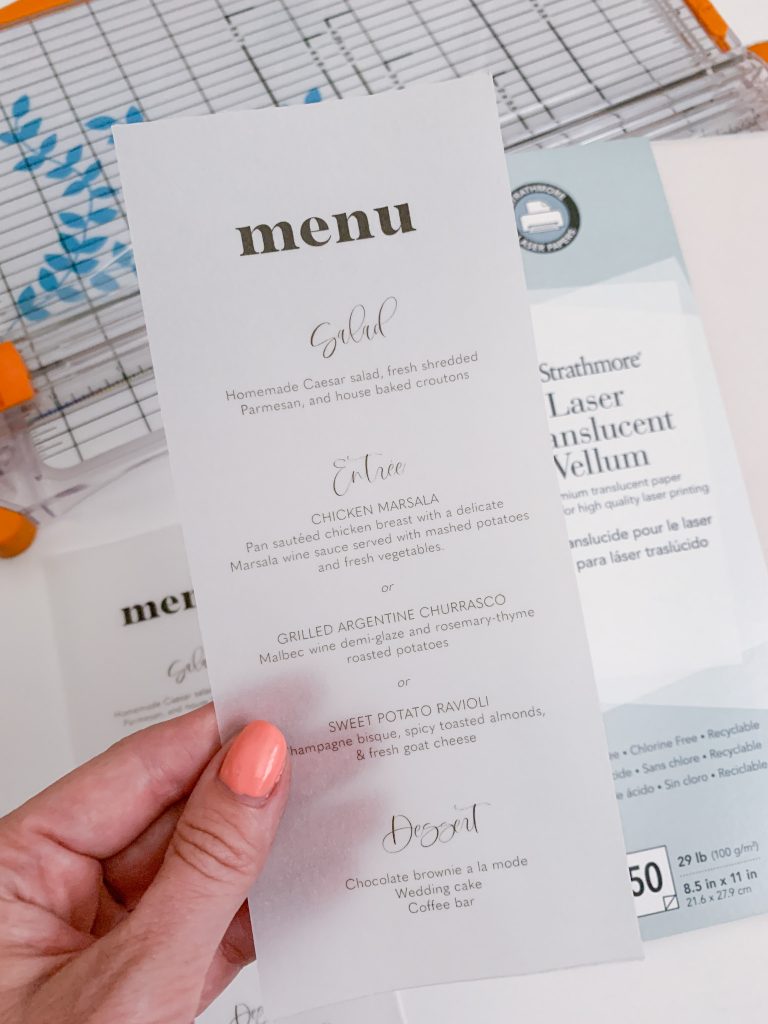
- Vellum Paper – this is our recommended go to
- Paper Trimmer – can’t go wrong with this one!
Picking a Design to Print on Vellum
When it comes to wedding invitations, there are so many choices for design. If you want to use vellum, we recommend choosing something simple. Designs without a colored background and single, dark ink color work best. Black is the safest choice, although other dark colors can work well too!
Stay away from designs with photos, lots of artwork, and fully colored background if you’re DIY printing vellum invitations. Not only do they use a lot of ink, but vellum is pretty delicate and you don’t want to push the paper. If you do want vellum wedding invitations with a little more something-something, we recommend outsourcing printing to the pros! This company does a great job printing on vellum.
How to Print Invitations on Vellum Paper
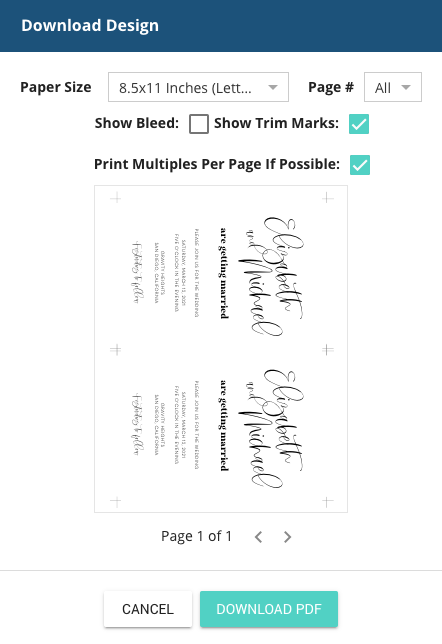
If you’re using one of our invitation design templates, download your edited design as a PDF. Set up multiple per page and select to add the crop marks.
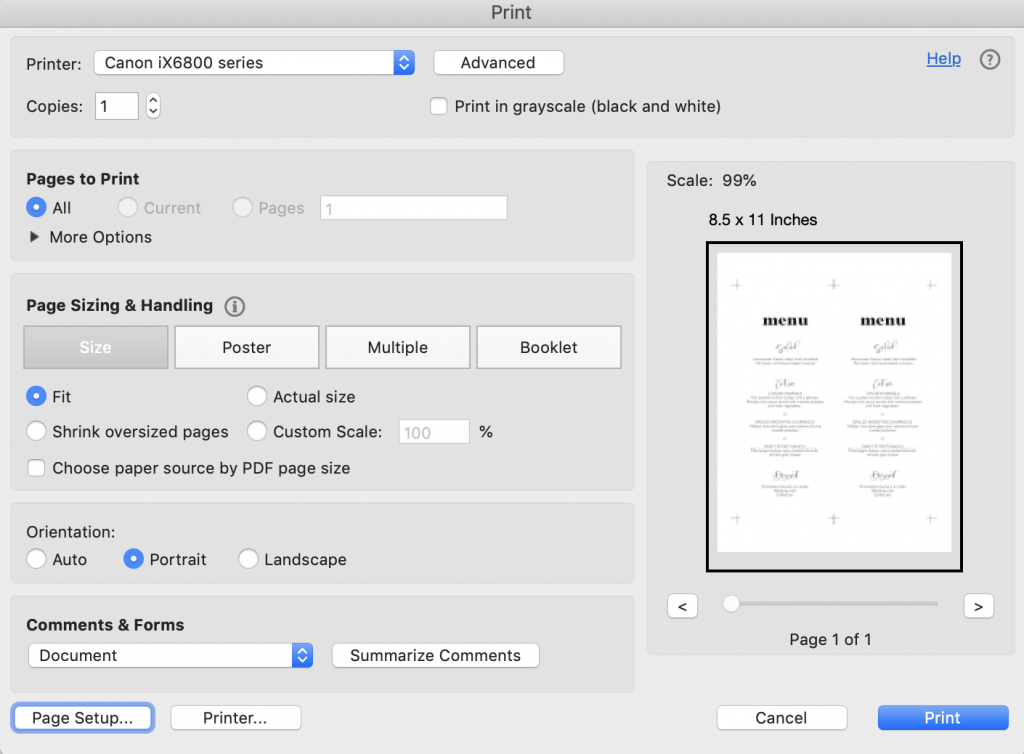
Your printer settings will depend on the computer and software you use. I’m using a Mac and printing from Adobe Acrobat. Every printer is a little bit different, just make sure you “fit to page” to get the correct sizing.
Insert the paper into the printer and print! I always recommend going through the full process with a sample before printing everything, just in case you need to make adjustments to the size, color, or settings. (You don’t want to print your entire set of invitations twice, I promise).
Pro Tips for Printing on Vellum:
- Handle the vellum carefully and try to only touch it on the edges. Your fingers can sometimes leave prints on the paper from the oils in your skin.
- Let you design dry before you start trimming the paper. The ink can smear and transfer to other pieces of vellum. It doesn’t need a ton of time, a couple minutes should be safe!
- Heat can cause the paper to curl, so let your printer take a break after printing 10 sheets to cool down.
Cutting Vellum Invitations
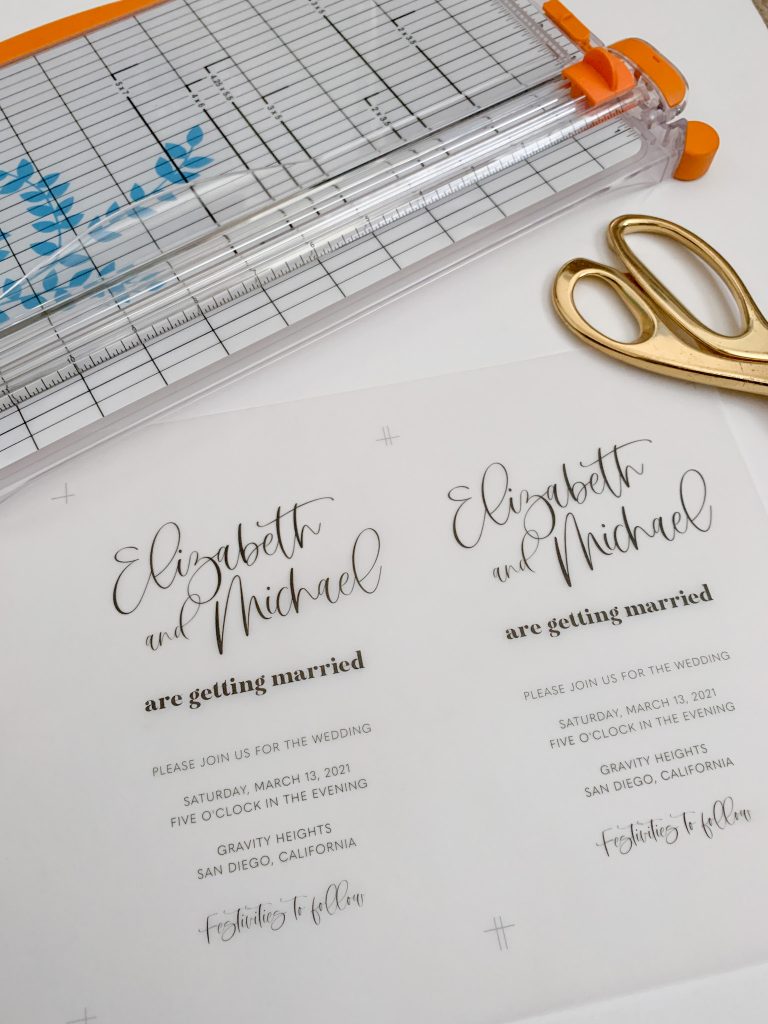
You’ll definitely need a paper trimmer to cut your vellum wedding invitations. It takes a couple tries to get it right, always print extras for practice!
Use the crop marks on the paper to line up under the trimmer blade. You’ll have to do less cutting if you trim the larger edges first (two birds, one stone deal).
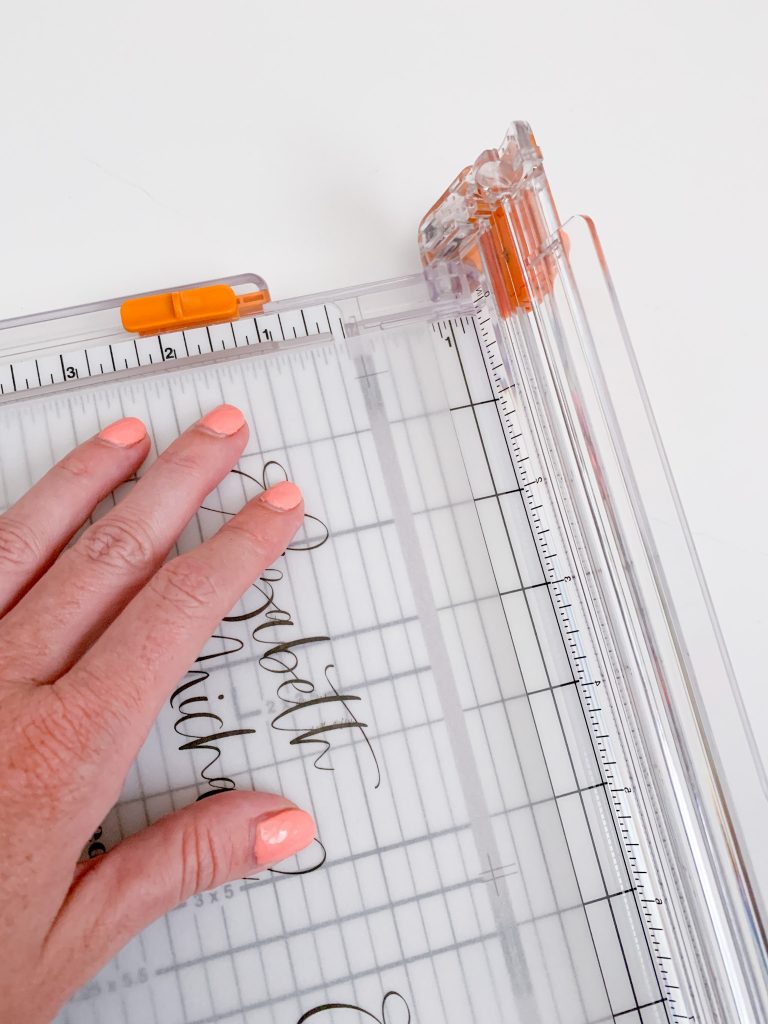
Pro Tip: Clear out any extra paper that gets left in the blade trough/gutter or else it will force the paper to crinkle up on the next cut.
If you’re using the paper trimmer we recommend, they have a handy guide for standard sizes like 5×7 to make sure you’re getting it right!
Tips for DIY Vellum Wedding Invitations
Once you’ve cut your paper, I recommend storing it under a book or set of books, so it doesn’t curl up.
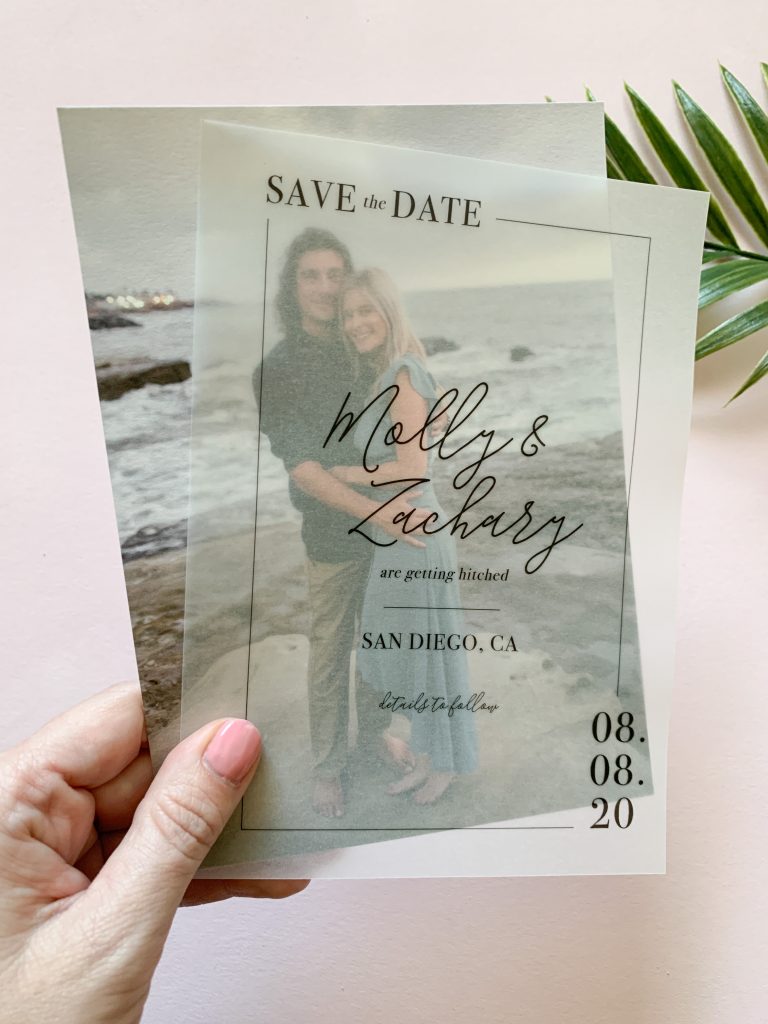
Pair your vellum invitation with a piece of cardstock to make the envelope a bit thicker and add a pop of color. Use a photo printed on cardstock with save the dates!
You can also bring in vellum through your day of stationery – we love vellum menus for place settings!
Check out the shop now for designs to print your own vellum wedding invitations, menus, and more!
*Affiliate Disclosure: We recommend these products because we use them, enjoy them, and found them helpful. By using our links, we sometimes receive a commission for referring, at no cost to you.